
Create an Invoice
Table of Contents
Note: This document assumes you'll be creating a new invoice from scratch. If you've been working from a ticket, see Add Billable Time to a Ticket.
You can read on, or watch this short video to learn more:
Create the Invoice
To manually create a new Invoice, follow these steps:
- Select the Invoices tab from the tab bar. If available, a list of existing invoices appears in the Invoices table:

Tip: There are several other ways you can start creating a new invoice: from the global New menu, from the New menu on an Organization's Details Page, or via the Make Invoice button on a Ticket or Estimate.
- Click +New Invoice. The New Invoice page displays:
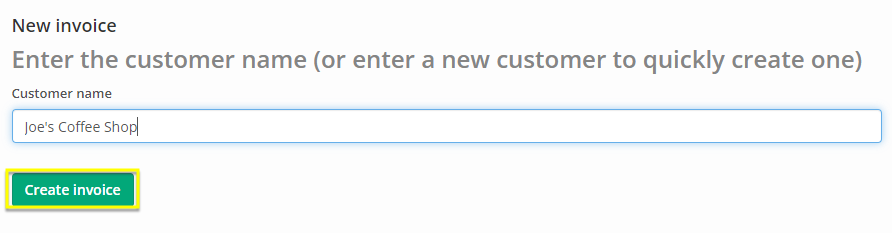
- Start typing an Organization name and select the Organization to invoice.
Tip: You can also type a new Organization name and press enter. This takes you to the New Organization page described in Work with Organizations.
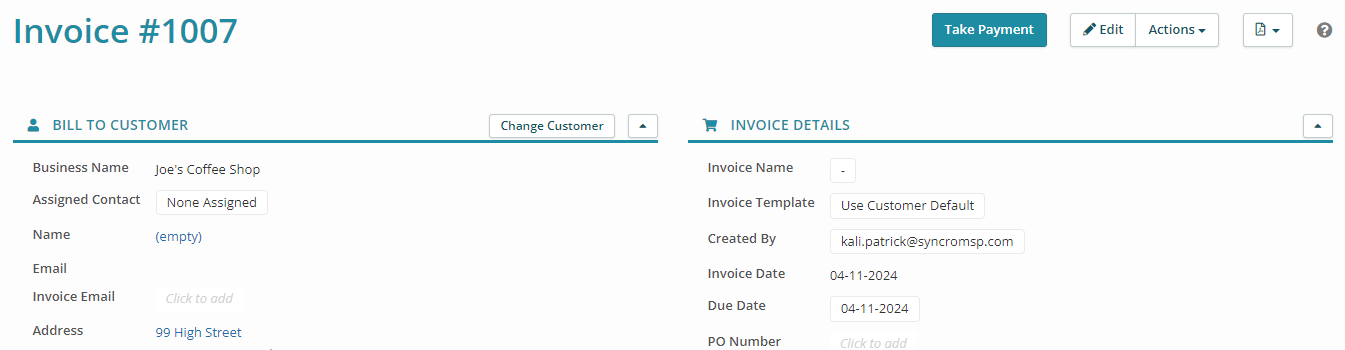
- Click Create Invoice. Syncro creates and displays an Invoice based on the default/selected invoice template. Unpaid invoices have a Take Payment button in the actions toolbar:
Tip: Navigate to Admin > Invoices - Templates to view, modify, and create Invoice Templates. See Customize PDF Templates for more information.
- Verify the information in the Bill To Organization section:
- If there's an Email associated with the Organization, it will appear in the Email field. If an Invoice Email does not exist, optionally click Click to Add to enter one. These are the email addresses that will receive a copy of the invoice.
- If you want to charge a different customer, click Change Customer. See Third-Party Billing for more information.
- Verify and/or add information in the Invoice Details section.
Tally Line Items
Note: The Line Items section of the Invoice draws heavily from your Products and Services list, which you can find in Products & Services. Anything in the Products and Services table that appears with a non-zero Cost is searchable here.
- In the Line Items section, search for items from your Products and Services list. Syncro displays choices based on what you type:

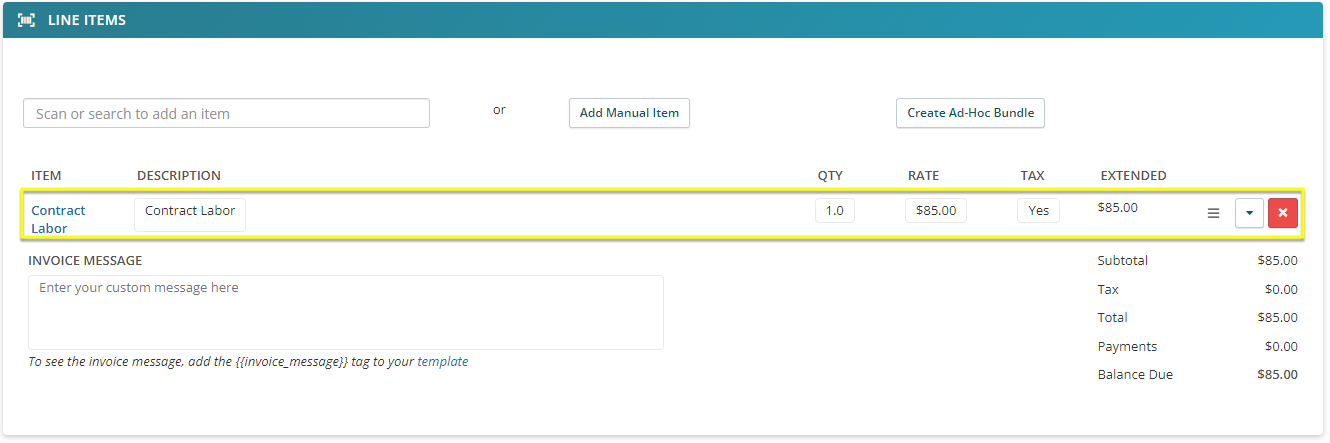
- Select an item from the search results, verify or change the Quantity, then click Create Line Item. An summary of the line item appears:
Tips:
- See also Add All Line Items from Pending Ticket Charges.
- If you have a barcode reader, you can scan a Syncro product label to enter its code in the "Scan or Search to Add An Item" field and auto-populate the line item in your invoice.
- Click Add Manual Item to list something that is not currently in your Products & Services:

(This does not add the item to your inventory.)
- Click Create Ad-Hoc Bundle to track multiple items (including labor) as a single line item on the invoice or estimate. See Ad-hoc Bundles for more information.
- Click a hyperlinked product or service in the Item column to jump to that product or service's details. You can click the Description, Qty, Rate, or Tax fields to make direct edits, which will only affect these invoice items (not your inventory).
- Use the triple-line icon (
 ) to reorder items on your invoice.
 - Click the expand icon to to add Discounts, or clarify/change other pieces of information.
- Click the X to remove a line item.
- Repeat the previous two steps to continue adding all the line items to your invoice.
- Optionally, click in the Invoice Message field to enter one. You can then add the {{invoice_message}} tag to your Invoice Template to display the name on your future invoices.
Add All Line Items from Pending Ticket Charges
If Syncro detects pending ticket charges related to the Organization, related to tickets, you'll see a Pending Ticket Charges notice at the top of the Line Items section of the Organization's invoice:

Click +Add to Invoice to add an individual ticket item to this invoice.
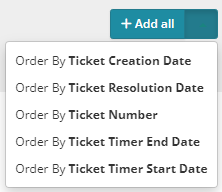
Alternatively, use the +Add All button menu to add all pending ticket charges, listed in the order you specify:
About Applied Payments, Terms & Conditions, and Emails
The Applied Payments section shows all payments that have been applied to the invoice. Clicking a hyperlinked Date opens the corresponding payment page. The PDF icon displays a PDF of the payment receipt, allowing you to print the receipt or download it to your local computer:

The Emails section shows all emails sent to the Organization from this Invoice.
The Terms & Conditions section allows you to display your terms and conditions for the Organization to accept and acknowledge by signing. Modify your invoice terms and conditions under Admin > Invoices - Templates. Select the Invoice Disclaimer tab.
Add Attachments
To add an attachment, first click Click to activate Copy/Paste Attachments to enable the drag-and-drop area and Upload button:

Accepted formats include: doc, docx, jpg, jpeg, m4a, mp3, pdf, png, ppt, pptx, txt, wav, xls, and xlsx.
Accept a Signature
If you have the invoice pulled up (e.g., in a brick and mortar) and select this field, Syncro activates a Topaz signature pad (if configured) for someone to sign. "Print Your Name" auto-populates with their full name if it's on file, or they can manually enter it:

Tip: They can also sign directly from the End User Portal when paying an invoice.
If necessary, click “Clear” to clear the signature area.
View History (Admin Only)
Note: This section is only visible for Global Administrators.
Click View History (Admin only) to list modifications made to the invoice since its creation. When applicable, the email address of the Syncro User who made the modification is displayed:

Sign the Invoice
- In the Signature section, you may choose to have someone verify or type their name, then draw their signature in the box.
- Click I Accept The Terms.