
Set Up QuickBooks Online (QBO)
Table of Contents
Integrating Syncro with QuickBooks Online (QBO) allows you to seamlessly sync data between the two systems, eliminating the need for manual input and ensuring consistency across platforms.
IMPORTANT:
- This integration syncs your information automatically from the time you set it up; it does NOT automatically sync historical data.
- This document describes integration scenarios and steps you should take BEFORE you have a lot of data in either account. If you have only been using QuickBooks Online since the beginning of the year and/or only have about 1,000 invoices, for example, follow this set up process. If you have only been using Syncro for a little while, or if you have had it for years but only have a hundred invoices, it is also safe to proceed as instructed here.
Integration Scenarios
The way you'll set up QuickBooks Online depends on how you currently have things working for your business.
Here are the two integration scenarios for the initial setup:
| Scenario 1: FROM QuickBooks INTO Syncro | Scenario 2: FROM Syncro INTO QuickBooks |
|---|---|
|
If you already have everything set up exactly the way you want in QuickBooks, you'll want to:
|
If you are already set up in Syncro but you want to start using QuickBooks, you'll want to:
Note: This is the preferred integration scenario. |
Regardless of which scenario applies to you, you'll need to begin the integration in the QuickBooks Settings Wizard so you can connect the two systems and set up some basic mapping information.
Prerequisites
For either integration scenario described above, be sure your QuickBooks Online account is properly set up by a bookkeeper or accountant to avoid any data issues. This includes setting up your:
- Chart of accounts,
- Payment methods, and
- Tax Rates. Tax rates need to be set up separately in both Syncro and QuickBooks Online so they match. As a best practice, you should maintain a one-to-one tax rate in Syncro for each item in QuickBooks Online.
Additionally, since ongoing syncs will impact invoices every time they're touched, make sure that the Basic Info section for each of your Customer Organizations is how you want it to appear in QuickBooks Online.
Tip: If you aren't sure how Invoices work in Syncro, see the Invoicing Setup Guide for some basics.
For Scenario 1 only, also be sure that:
- Your QuickBooks Online account is also properly set up for both your Customer and Product lists.
- Each customer and sub-customer in QuickBooks Online has a unique email. This is necessary because Syncro handles customers differently than QuickBooks Online. While QuickBooks Online includes sub-customers, Syncro treats them all as regular customers. When you import customers from QuickBooks Online into Syncro, Syncro will also import each sub-customer. This can lead to mismatches if there are duplicate emails.
Connect QuickBooks Online to Syncro
For either integration scenario, the first step is to connect Syncro to QBO.
Read on, or watch this short video to learn more:
To do this, follow these steps:
- In Syncro, navigate to Admin > Integrations - App Center.
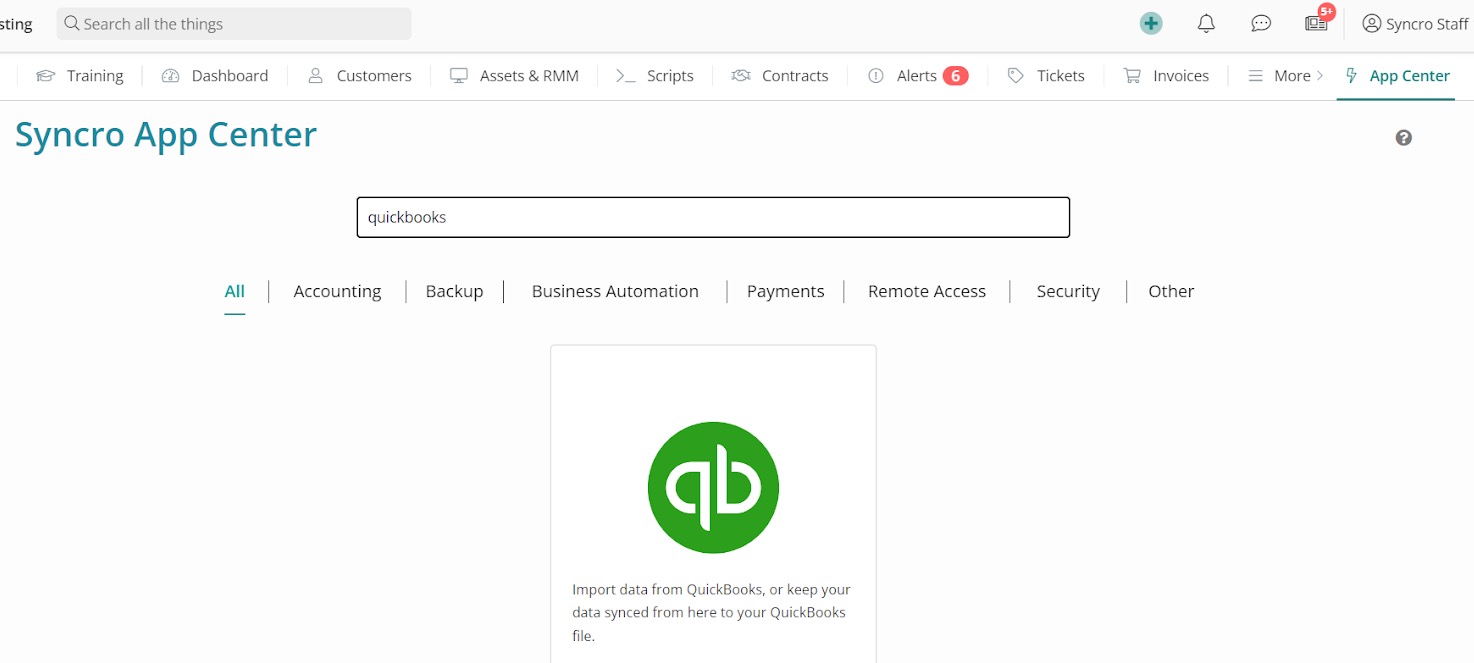
- Type “QuickBooks” in the search bar, or click the Accounting link.
- Click the QuickBooks tile:
- On the left, click CONNECT TO QuickBooks Online:

(If you’re not yet logged in) a new window displays so you can log into QuickBooks. - Once you're logged into QuickBooks, click Connect to authorize QuickBooks to securely share your data:

Note: If the authorization does not work, please contact Intuit to fix your Intuit ID.
The Connected! screen displays:

- On the Connected! page, click Sync Settings.
The QuickBooks Settings Wizard will now guide you through the rest of the configuration process. - Click Start:

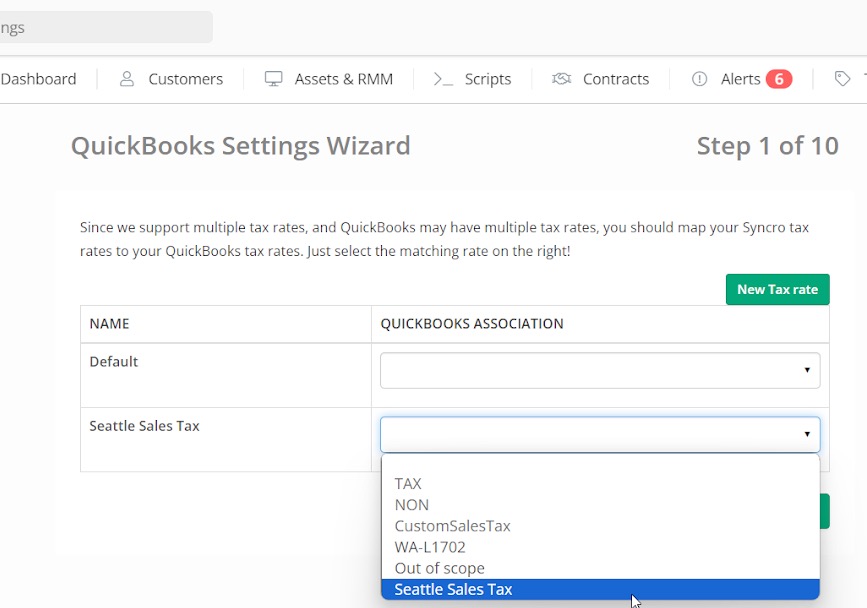
- Map your Syncro tax rates (shown on the left) to your QuickBooks tax rates (using the dropdown menus on the right). Then click Next:
- Map your 0% Tax Rate, then click Next:
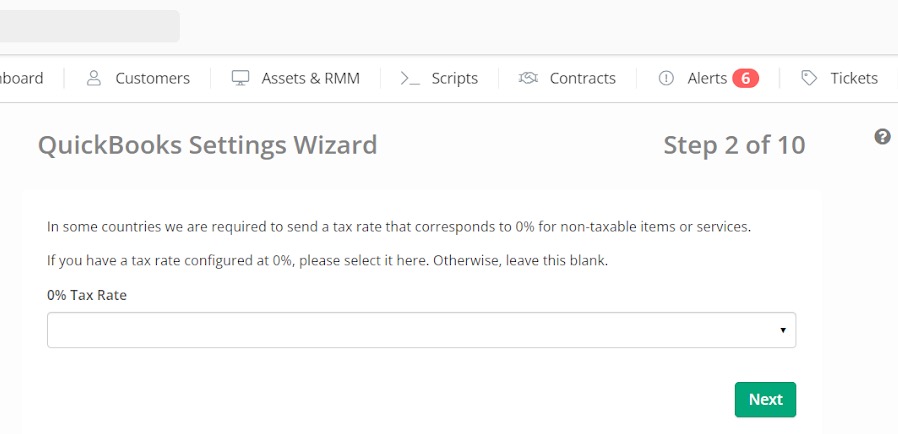
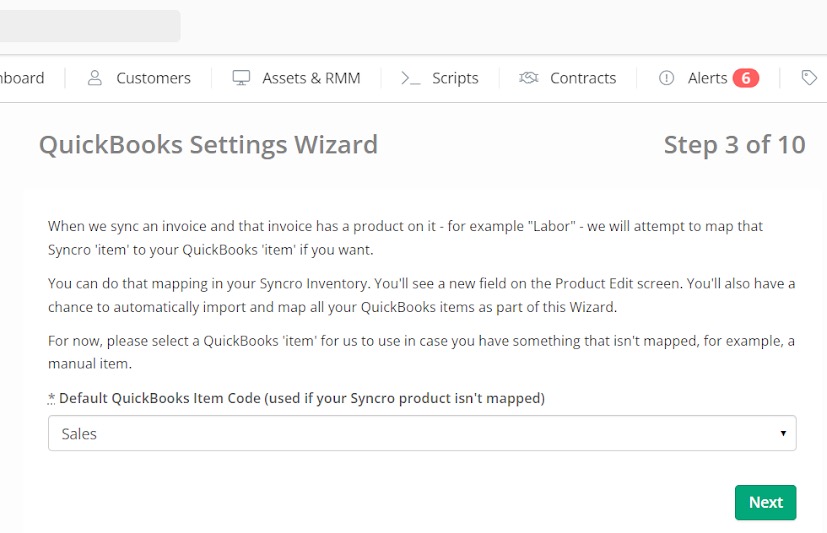
Note: Whenever you create a non-tax Invoice in Syncro, the system will apply this zero rate in QuickBooks. - Syncro allows you to create ad-hoc line items for Invoices. Select the Default QuickBooks Item Code to attach these items to, then click Next:
- Select the deposit Account, then click Next:

Tip: This is almost always Undeposited Funds. - Select your AP Account for purchase orders, then click Next:

Tip: This is almost always Accounts Payable. - Map your Syncro payment methods (shown on the left) to your QuickBooks payment methods (using the dropdown menus on the right). Then click Next:

Tip: If you don't see your payment methods in the dropdown menus, click Import QuickBooks Payment Methods. - Next you'll set up how you want QuickBooks and Syncro to work together. Check BOTH the “Turn on Invoices/Payments/Customers Sync to QuickBooks” and the “Sync All Syncro Products to QuickBooks” boxes.
- Then select the recommended accounts for the “Income Amount for Sales of Products,” “Expense Account for Cost of Goods Sold,” and “Inventory Asset Account” fields, then click Next. (The values in these dropdown menus correspond to the mappings you previously specified.)

Note: The time it takes data to sync initially depends on how much data you have. Most times you'll see data within 30 minutes, but large amounts of data can take up to 48 hours.
Import or Send All Data
The next steps you take depend on whether the scenario you're configuring the integration for. Follow the steps in the appropriate tab to complete the process.
Scenario 1 (FROM QuickBooks INTO Syncro)
If you're configuring the integration for Scenario 1 (FROM QuickBooks INTO Syncro), you'll want to Import your Customers, Products, and Vendors.
Read on, or watch this short video to complete your wizard set up:
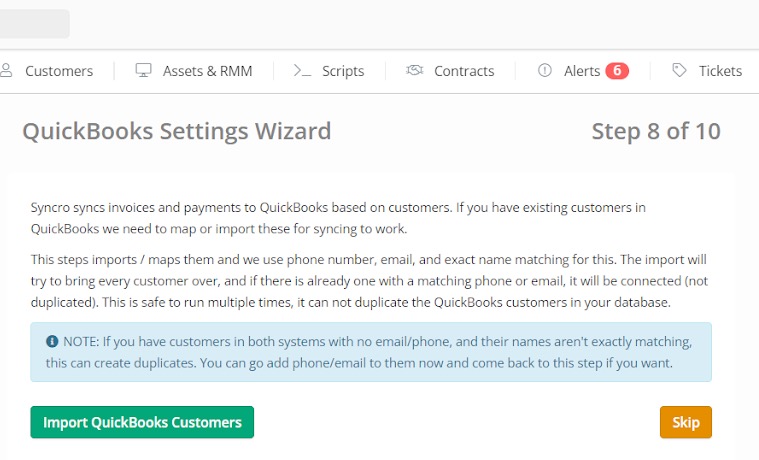
- Syncro highly recommends that you click Import QuickBooks Customers. This ensures that customers and sub-customers in QuickBooks map to Customer Organizations in Syncro.
- Click Import QuickBooks Items to populate Syncro's Product list with your QuickBooks Online items. When finished, click Next:

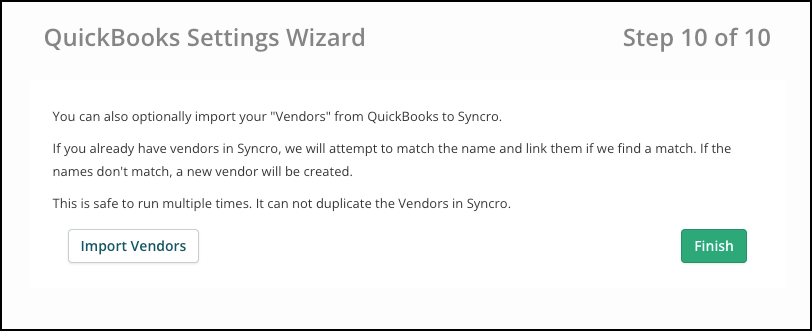
Note: If you have many items in QuickBooks Online that you do NOT want as Syncro products, you can click Next to skip this instead, but [I assume they'll have to do something to get them in later?]. - Click Import Vendors to import all of your Vendors from QuickBooks Online into Syncro's list of Vendors:
- Click Finish. The wizard is complete and the QuickBooks Settings page displays.
Scenario 2 (FROM Syncro TO QuickBooks)
If you're configuring the integration for Scenario 2 (FROM Syncro TO QuickBooks), you'll want to Send your Syncro Data to QuickBooks.
Read on, or watch this short video to complete your wizard set up:
- On the Import QuickBooks Customers page, click Skip:
- On the Import QuickBooks Items page, click Next to skip this step:
- On the Import Vendors page, click Finish to skip this step and exit the wizard.
The QuickBooks Settings page displays. - Scroll to the bottom of the QuickBooks Settings page to the Send All buttons:

Note: How your Syncro products are sent to QuickBooks Online as item types depends on their configuration:
| Syncro Configuration | QuickBooks Item Type |
|---|---|
| If the Syncro product is set to Maintain Stock = TRUE. | Inventory |
|
If the Syncro product is mapped to a "Service" type in QuickBooks.
Products categorized as “Labor” in Syncro need to be mapped to items with this type or, upon creation, must be changed from "Non-inventory" to a "Service" type item. |
Service |
| If the Syncro product is neither of the above. | Non-Inventory |
Although the initial integration between Syncro and QuickBooks Online is now complete, you can always Update QuickBooks Settings now or in the future. Here are some additional things you may want to be aware of now.
Map Products Between Systems
During the initial setup, you'll likely check the “Sync All Products to QuickBooks” box. However, selecting this option does NOT automatically sync your EXISTING products between the two systems. It only syncs products you create from that point forward.
If you already have Products in both Syncro and QuickBooks, you can manually map the products together. Read on, or watch this short video to learn more:
To do this, follow these steps:
- Navigate to the 'Products and Services' tab, then choose your product from the list.
-
Use the 'Linked QuickBooks Item' field to select the QuickBooks item you want to map this Syncro product to. (This list is populated based on your existing QuickBooks items.)

- Click Update Product to save your change.
Now, every time you add this product to an invoice and that invoice syncs to QuickBooks, it will display as whatever product you've selected.
Manually Add a Small Amount of Historical Data
The sync between Syncro and QuickBooks Online happens from the point of connection going forward.
While the syncing of historical data is not recommended, if you have a need to do this, you can. However, you should not go back too far. Sync as little historical data as possible to avoid issues.
Follow these steps:
- Navigate to the Invoices tab.
- Select an invoice.
- From the Actions menu, select “Resync to QuickBooks.”
When You Have a Lot of Data in Both Systems
If you currently have a lot of data in BOTH Syncro AND QuickBooks Online, here are some things you should know:
- First, expect that manual data clean up of Products, Customers, vendors, tax rates, and payment methods and mapping will be necessary.
- Pick an integration scenario to be the Single Source of Truth (SSoT) and perform the steps described in Connect QuickBooks Online to Syncro. Scenario 2 (sending data FROM Syncro INTO QuickBooks Online) is always preferred.
Alternatively, you might decide to connect your accounts and only sync data going forward (i.e., not Import nor Send any data). This route also has the potential to create duplicate customer profiles when new invoices sync, which you will need to correct as you go along.
Control QuickBooks Online Payments for Customer Organizations
QuickBooks Payments is an add-on service provided by Intuit that allows you to collect credit card and/or ACH payments for Syncro invoices via their online portal.
If you're setting up QuickBooks Online to accept payments in their online portal, ensure smooth syncing between the two systems by checking one or both of the following boxes in the ORGANIZATIONS SETTINGS section for your Customer Organizations:

Notes:
- The QuickBooks Online Payments section only appears for Organizations when the QuickBooks Online accounting integration is set up.
- This is a one-time set up per Organization. Thereafter whenever an invoice is created, the options for credit card/ACH payments are enabled.
See also: Work with Organizations and Organization Fields Reference.