
Work with Service Level Agreements (SLAs)
Table of Contents
A Service Level Agreement (SLA) allows you to define and manage your commitment to your customers.
You can use SLAs to specify things like:
- How long a ticket is can go without a response,
- How long before a ticket must be resolved,
- Who the ticket should start with, and
- Who the ticket should be escalated to if the SLAs are breached.
You may assign SLAs to Tickets:
- Manually, when you create a new ticket.
- Based on criteria you define through Ticket Automations. For example, if an End User is tagged as a “VIP,” you can attach a VIP (urgent) SLA to their tickets. Or, when a ticket's Priority changes to “Urgent (0)”, you can attach an appropriate SLA.
- Automatically through Contracts. If assigned to a Contract, all tickets created under that contract can have the same SLA.
Notifications about SLA breaches can be configured in the Notification Center.
Note: An SLA does not directly interact with your billing or invoicing system. Syncro will not automatically apply a discount for your customers if the agreement is breached.
Best Practices for SLAs
When establishing your standards for responding to and resolving tickets opened by End Users in your Organization(s), minimally take the following into account:
- What type of ticket it is,
- When you want end users to get their first response,
- When you want the ticket to be resolved,
- Which end user and/or department/location (if applicable) is filing the ticket.
First, create standard SLA(s) that work in most situations. Optionally, create another that you’ll apply in special cases. If you’re following ITIL, your SLAs might look like this example:
| SLA Type | Response Time | Resolution Time |
|---|---|---|
| Request (something new) | 5 hours | 5 days |
| Problem (prevent recurrence) | 3 hours | 3 days |
| Incident (system down) | 1 hour | 1 day |
| VIP (urgent) | 30 minutes | 3 hours |
Create a New SLA
Read on, or watch this short video to learn more:
To create a new SLA, follow these steps:
- Select the Contracts tab from the tab bar. Click View Service Level Agreements (SLAs):

The SLAs page displays with any existing SLAs in the table:

Tip: An alternative path is to navigate Admin > Tickets - Service Level Agreements: 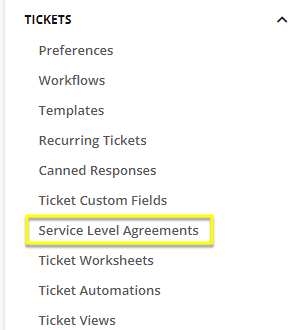
- Click +New SLA. The New SLA page displays:
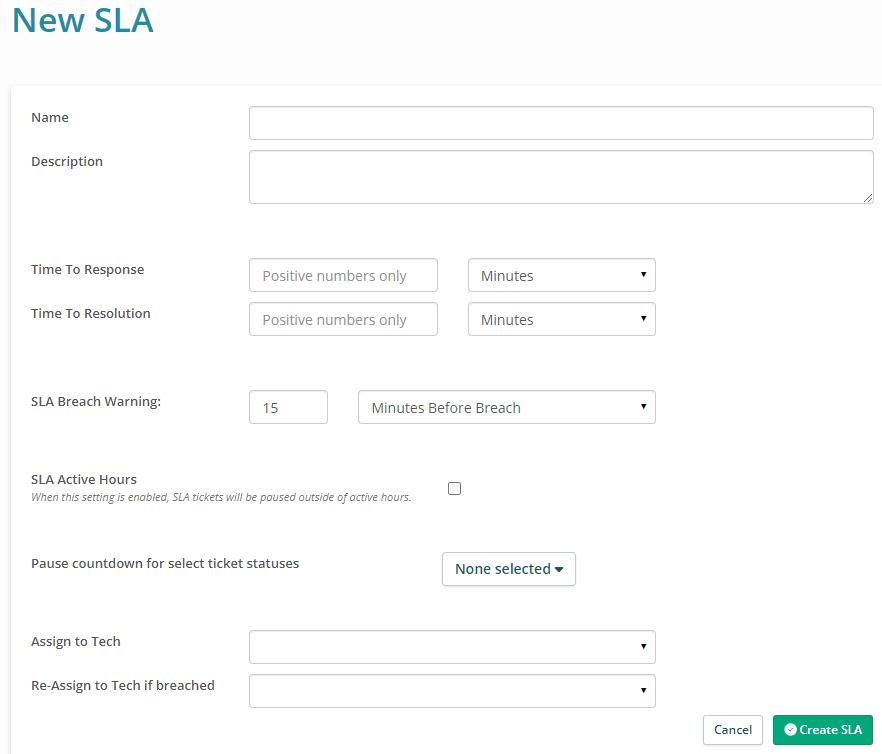
- Complete any fields to reflect your SLA.
SLA Fields Reference
- Name: Label your SLA with a recognizable name.
- Description: Add a brief description of the SLA.
-
Time to Response: Select a time (minutes, hours, days) for tickets to be responded to.
Note: Time to response is derived from ticket public comments, specifically when the second ticket comment to a customer is made. Autoresponders do not affect time to response. - Time to Resolution: Select a time (minutes, hours, days) for tickets to be resolved by. If a ticket is paused, this time will not be included in the time to resolution.
- SLA Breach Warning: Triggers notifications through the notification center warning when an SLA is about to be breached.
- SLA Active Hours: Will pause SLA timers based on business hours or use custom hours defined on a per SLA basis.
- Pause Countdown for Select Ticket Statuses: Selected ticket statuses will automatically pause the SLA timer and start the timer back up when the status is changed to one that is not selected.
- Assign to Tech: Automatically assign every ticket with this SLA to the defined technician.
- Re-Assign to Tech if Breached: If the ticket breaches the SLA it will automatically reassign to the defined technician.
- Set Priority: Allows you to define the priority of the tickets created with this SLA.
About Your SLA Schedule
If you check the SLA Active Hours box, you can specify your SLA Schedule: 
If you want to use Business Hours for Your SLA Schedule, you must enable and define your Business Hours (and if applicable, your Holiday Calendar). See also: Set Up Your Business Hours.
Alternatively, you can create a Custom Schedule:

- Click Create SLA. The SLA with the Name, Description, Time to Resolution, and Assign To Tech appears in the table.
Working with Existing SLAs
Existing SLAs appear in the Service Level Agreements (SLAs) table with some actions you can take:
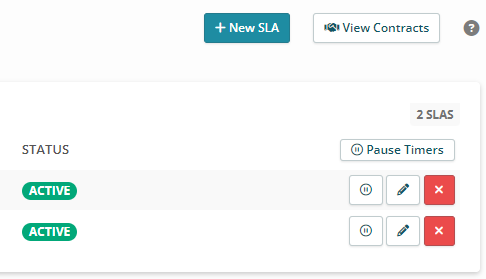
- Click Pause Timers to pause timers on ALL the SLAs listed in the table. The Status changes to a red Paused label, and the button changes to Resume Timers.
- Click the Pause icon next to a specific SLA to pause its timer.
- Click the Edit (pencil) icon next to a specific timer to redisplay the SLA page in edit mode. Edit your SLA and click Save Changes.
- Click the Delete (red x) icon next to a specific timer to delete it. You'll be asked to confirm this.
IMPORTANT: It's not recommended to delete an SLA associated with a Contract if there are any active tickets for that customer. If you do so, you won't be able to view the details of the SLA originally applied. When the SLA is deleted, the assigned SLA in any open tickets changes to a '-' value. Future tickets will not have an SLA assigned.
Tip: Click View Contracts to quickly navigate to the Contracts Manager. See also Create a Contract.
Assigning SLAs & Notification of SLA Breaches
You may assign SLAs to Contracts, to apply to all work for a customer, or to individual Tickets. If assigned to a Contract, all tickets created under that contract will be defaulted to having that agreement.
Note: An SLA does not directly interact with your billing or invoicing system. Syncro will not automatically apply a discount for your customers if the agreement is breached.
A breach of an SLA (e.g., not providing an initial response in time or not resolving a ticket in time) can trigger notifications, configurable in the Notification Center.
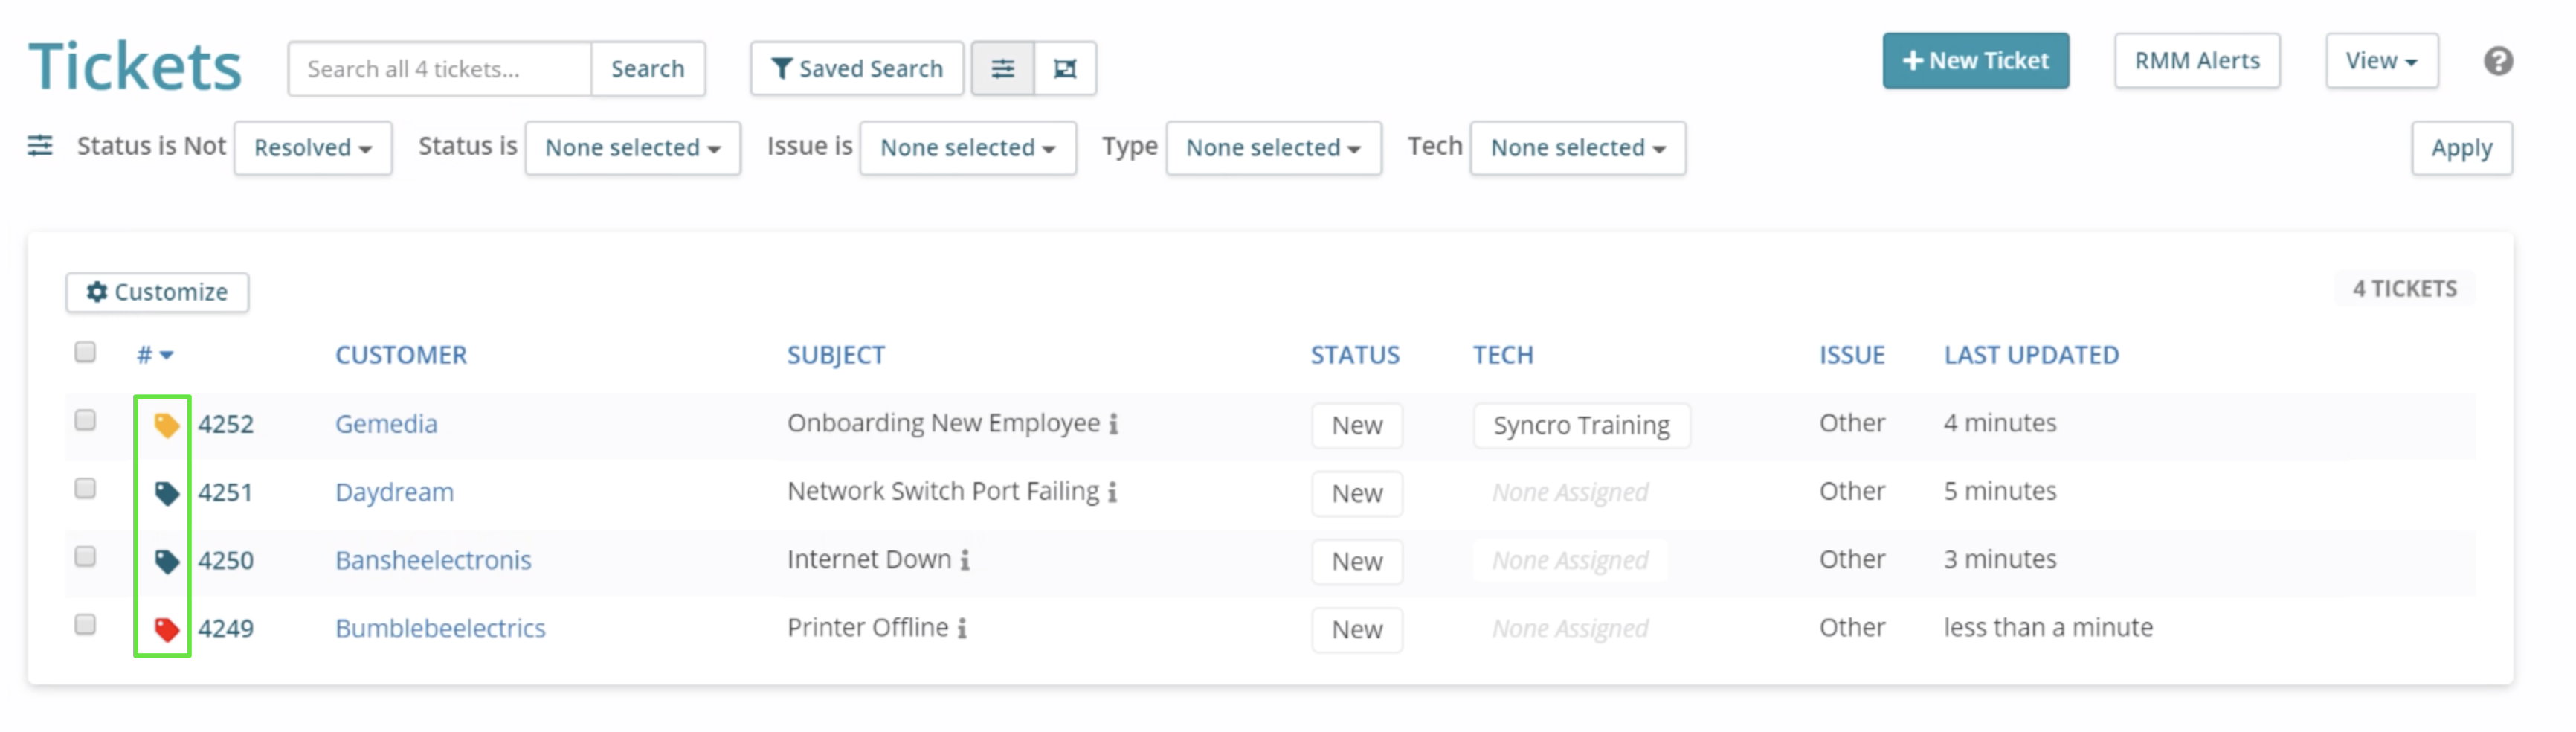
Viewing SLAs on Tickets
Tickets that have breached an SLA timer will automatically turn to red. Tickets that are in danger of breaching their SLA will turn to orange.
You can also see when a ticket was breached by opening the ticket quick view or clicking into the Ticket's Details Page:
Apply an SLA to a Contract
You can apply an SLA to a contract when you first create it, or whenever you edit your contract, on the Contract Details page:
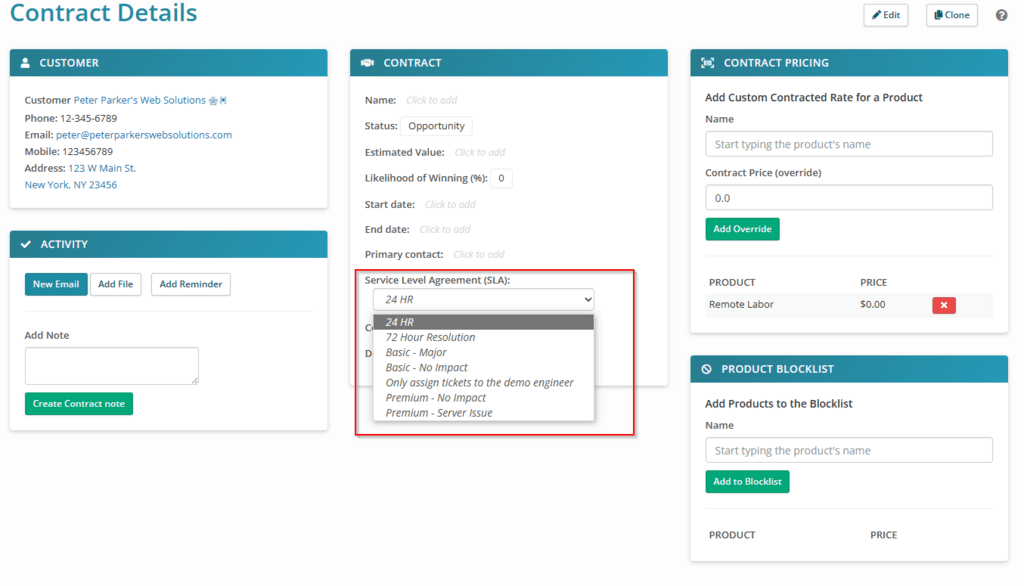
See also: Create a Contract.
Select YES for "Contract Applies to All Tickets" to ensure the SLA applies to all newly created tickets.