
Use Single Sign-On with Syncro
Table of Contents
Single Sign-On (SSO) is a user authentication method that allows users to access multiple applications and services using one set of login credentials.
Syncro allows you to use SSO as an authentication option to streamline access and take control of your security. We use Open Identification Connect (also known as OpenID Connect or OIDC), which is one of three SSO standards commonly used in the industry.
About SSO & idP Services
Syncro SSO has been tested and verified with the following three popular Identify Provider (idP) services:
- Okta
- Google Auth
- Entra (Microsoft)
Since the OIDC standard is widely adopted and used by many idPs, our SSO implementation will work with more than these.
IMPORTANT:
- The SSO setting is account-wide. When activated, SSO will be enforced across all active User accounts on the subdomain.
- User Email Addresses are used to match with the idP. For someone to authenticate correctly, their email in Syncro must match on their idP side.
- Syncro MFA will remain active with SSO enabled. This means that Users will be prompted for an MFA code when starting a new session (or based on session re-auth) to access Syncro.
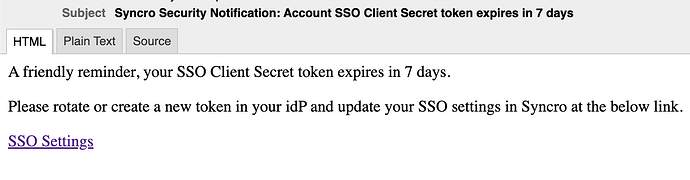
- If at any time SSO settings are updated as a security measure, Syncro sends an email notifying users:

Currently the Mobile App is compatible with Single Sign-On.
Set Up and Enable SSO
To set up and enable SSO, follow these steps:
- Navigate to Admin > Syncro Administration - Login Settings:
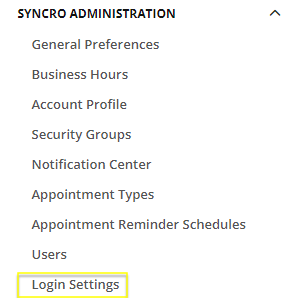
Tip: An alternative path is via Admin > Employees - Login Settings. - Supply three required pieces of information from your idP: the Client ID, Client Secret, and Discovery Document:
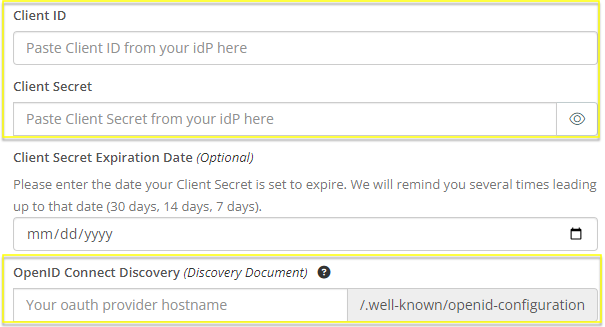
- Enter a Client Secret Expiration Date if your OIDC provider expires your client secret after a set amount of time. Syncro will remind you three times leading up to this date that your client secret is expiring soon and should be refreshed. Reminders go out at 6 a.m. PT 30 days, 14 days, and 7 days prior. For example:
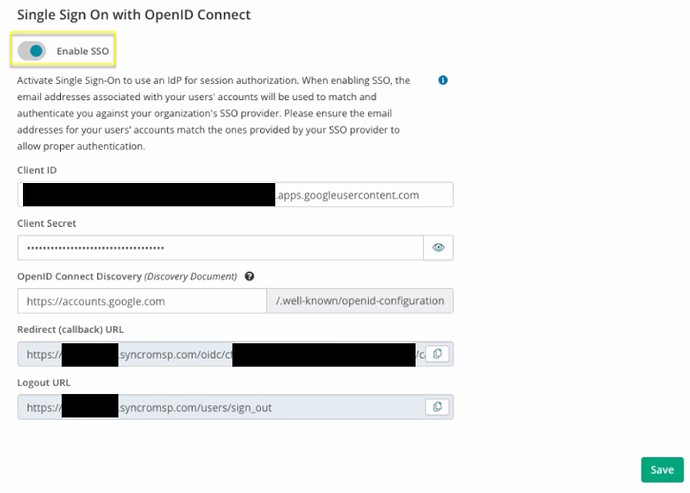
- Copy and add to your idP the two URLs that Syncro generates: Redirect Callback URL and Logout URL.
- Click the Save & Verify SSO Connection button at the bottom right to continue. When the verification is complete, the Enable SSO toggle becomes available.
- Click “Enable SSO” to toggle it to the On position, then click Save at the bottom right to continue:
Remember that SSO is an account-wide setting, and takes immediate effect.
Once SSO is activated, all Syncro accounts will be authenticated through your idP. The login page will have a Sign In With SSO button: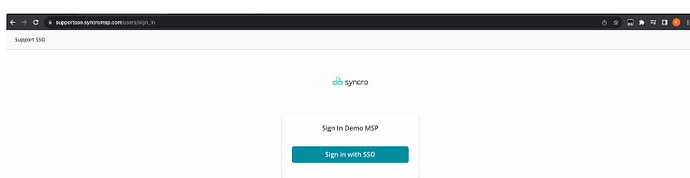
Troubleshooting SSO Issues
If you receive the error message: OpenID Connect Discovery: is invalid, the URL for the OpenID Connect Discovery field is not correct. Re-enter it and try again.
If you receive the error message: Access Blocked: This app’s request is invalid, this typically means the Redirect (Callback) URL is missing or incorrect. Copy this URL directly from Syncro into your idP settings.
If you receive the error message: SSO configuration contains errors. Please check and verify again., this refers to the Client Secret not being correct. This can happen when a copy/paste includes junk data from the clipboard. Go back to the idP and copy/paste again.
Check Your OpenID Authorizations
To see which OpenIDs have been authorized in Syncro, navigate to your Syncro User Profile menu and select Open ID Authorizations. Syncro displays a table displaying any OpenID Authorized Accounts, including the Provider, Identifier, and Date Added.
Disable SSO
To disable SSO, follow these steps:
- Navigate to Admin > Syncro Administration - Login Settings.
- Click “Enable SSO” to toggle it to the Off position, then click Save at the bottom right to continue.
When you disable SSO, Syncro resets passwords for all User accounts and ends any existing sessions. A password reset email is also sent to all active User accounts. If for any reason this email is not received, Syncro presents a screen to complete the password reset on their next login attempt.