
Work with Appointment Types
Table of Contents
Appointment Types are essentially templates you can define and use whenever you schedule an appointment from within Syncro. For example, you could have different appointment types for on-site appointments vs. phone calls, and video-based meetings.
Appointment Types automatically select the appropriate address/notes for the Location field in your calendar, and they can also send custom instructions the customer you're meeting. Syncro provides a few Appointment Types for all accounts by default. You can edit them to completely change how they work, or create entirely new Appointment Types.
Your Appointment Types will be available to select from the Appointment Type dropdown menu, wherever you create a new appointment:

Create a New Appointment Type
To create a new Appointment Type, follow these steps:
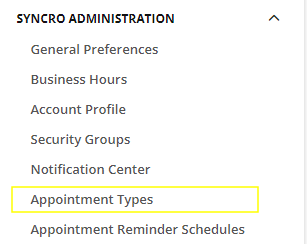
- Navigate to Admin > Syncro Administration - Appointment Types:
Syncro displays a list of existing Appointment Types:
Note: Syncro provides the "Onsite," “Our Office,” “Phone Call,” and “Remote Support” appointment types by default. - Click +New Appointment Type. Syncro displays the New Appointment Type page:
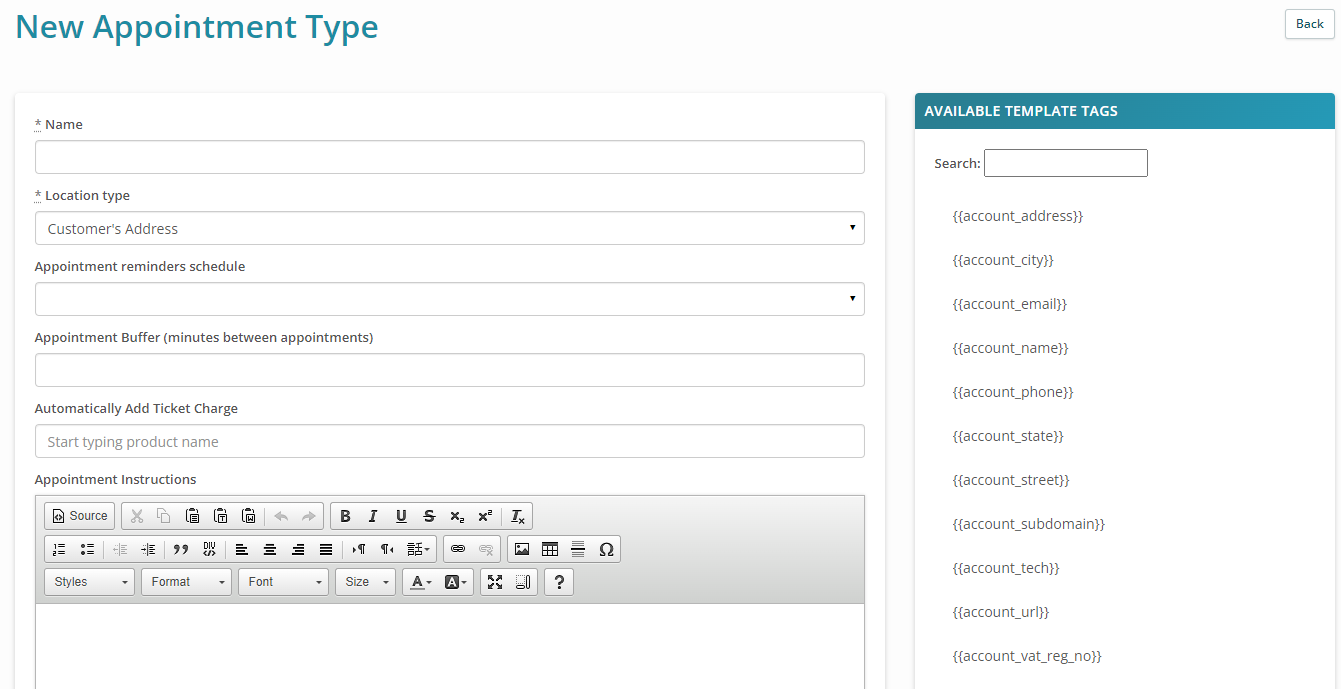
Tip: You can use the Available Template Tags sidebar to customize the fields in your new Appointment Type. For example, you could display information from the ticket that required an appointment to be scheduled. - Enter a Name for the Appointment Type. (Remember you will be selecting it later from a dropdown menu!)
- The Location is where the appointment will be held. Use the Location Type to select from the following options:
- Customer's Address: Prepopulates the customer's address, if you also attach a pre-existing ticket.
- Our Physical Address: Prepopulates your address, as set in your Account Profile.
- Pre-Defined (hard coded here): Whatever you type in the “Location Hard Code" field fills the Location field for the appointment.
- Manual Entry (no location pre-populated): Leaves the Location field blank for the appointment.
- Optionally complete these fields:
-
Appointment Reminders Schedule: If you select one here, Syncro will pre-select that value in the same dropdown on a new appointment.
Tip: Click Appointment Reminder Schedules in the upper-right corner to toggle between Appointment Types and Appointment Reminder Schedules. - Appointment Buffer: This is the default time in minutes you'd like between scheduled appointments of this type. If you'll be at a customer's site, for example, you may want to account for travel time.
- Automatically Add Ticket Charge: Search your inventory and select an item to add whenever this type of appointment is created. For example, if you create a “Trip Charge” product or service as a Labor item, you could select it here to automatically add trip charges to a ticket for on-site appointments. This field requires that you create the appointment from a Ticket. As soon as you save the appointment, Syncro will show the charge in the Add/View Charges button on the Ticket's Details page. If you don't create the appointment from a ticket, Syncro displays the message: “Any appointment charges configured will not be added without a ticket.” The appointment will be created, but the customer will not be charged (since there is no ticket to add the charge to).
- Appointment Instructions: For example, you could describe how and where your customer can park, or send meeting information for Zoom, Google Meet, etc. This text will be incorporated into the "Ticket Appointment Email" or "Non-Ticket Appointments Email" templates wherever you insert the {{appointment_instructions}} Template Tag.
-
Appointment Reminders Schedule: If you select one here, Syncro will pre-select that value in the same dropdown on a new appointment.
- Click Save. The new Appointment Type displays on the page and is now available to select wherever you create a new appointment.
Edit or Delete an Existing Appointment Type
To edit an existing Appointment Type, follow these steps:
- Navigate to Admin > Syncro Administration - Appointment Types:
Syncro displays a list of existing Appointment Types: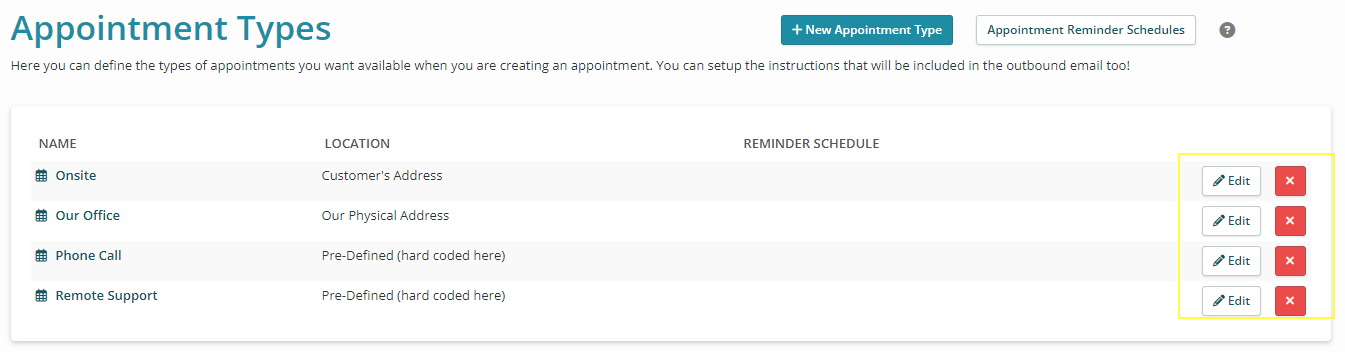
- Click the hyperlinked NAME (or Edit) for an existing appointment type. Syncro displays the Edit Appointment Type page.
- Make any changes to the fields, then click Save. The Appointment Type page displays your changes.
To delete an Appointment Type, click the red X for an existing schedule, then OK to confirm. Appointments associated with a deleted Appointment Type are unaffected. However, any data associated with the deleted Appointment Type is removed.