Customize Labels
Table of Contents
You can customize the layout and appearance of all the various label types with Syncro's Label Editor.
Syncro provides you with the ability to add lots of information to your labels. Keep in mind that labels are small and adding too much makes them difficult to read. We recommend having only the necessary info for the label's purpose.
To customize your labels, follow these steps:
- Navigate to Admin > Syncro Administration - PDF/Email Templates.
- Select “Label Templates” from the Template Customization list. The View and Edit Label Templates page displays.
- Click Customize one of the templates row to edit that template. The Simple Editor for that label displays.
- Use the Main, Text, and Image Tabs in the Label Editor to customize your label.
About the Main, Text, and Image Tabs in the Label Editor
In the Main tab you can:
- Add a text box,
- Add a horizontal divider line (there can only be one),
- Add a bar code (there can only be one), and
- Change the size of the label using the fields in the upper right corner. You can use Inches or Millimeters for the sizing. Click the green checkmark to update the label size.
Tip: You can insert Template Tags within the text boxes to pull data from your account. Search for and copy relevant tags, then paste them into the text box where you want them to appear on the label.
The Text tab automatically selects when you click in a Text box. In the Text tab you can:
- Set the font size,
- Choose bold or italics, and
- Justify the text within the text box.
The Image tab automatically selects when you add an image to the label. To add images to your label, click Upload. Once the image is uploaded, click the green arrow to add it to the label, or the red x to delete it. When an image is highlighted (selected), you can change its size.
The Label Editor allows you to move the elements on the template canvas. You can also resize your images and fonts.
Where to Preview & Print Customized Labels
Customer Labels
Navigate to the Customers tab/module, then select a Customer from the table.
Click the PDF icon in the upper right, then select the Customer or Address label:

The Customer Label opens in a PDF, which you can print if you'd like.
The Address Label opens in the Labler editor so you can make any additional/localized changes. Click View to preview and print the label if desired.
Asset Labels
Navigate to the Assets & RMM tab/module, then select an Asset from the table. Click the PDF icon in the upper right:

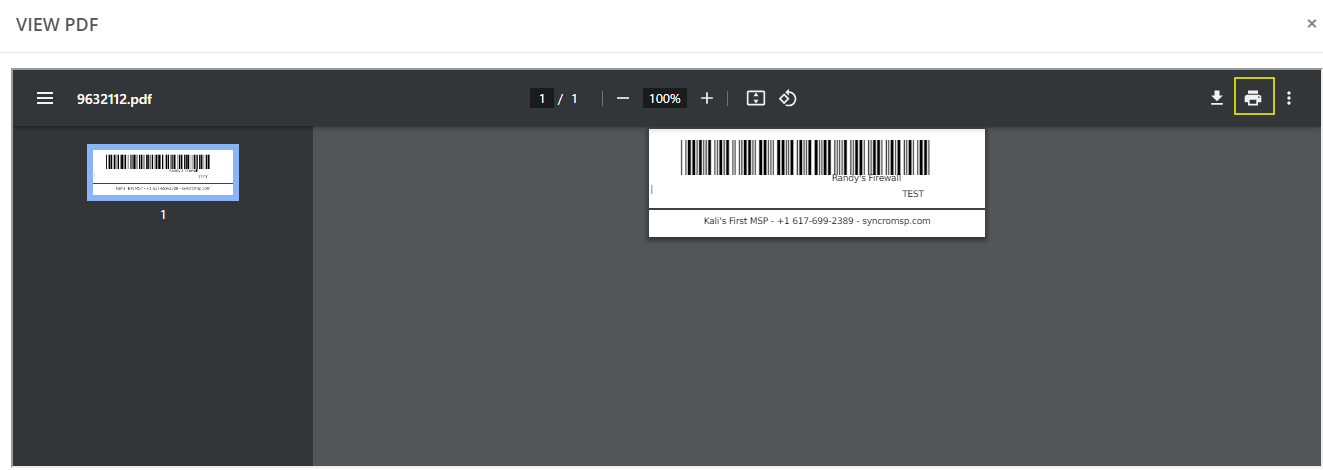
In the View PDF window, click the Print icon if you'd like to print the label.
Ticket Labels
Navigate to the Tickets tab/module, then select a Ticket from the table.
Click the PDF icon in the upper right, then select the Ticket or Customer label:

In the View PDF window that appears, click the Print icon if you'd like to print the label.
Product Labels
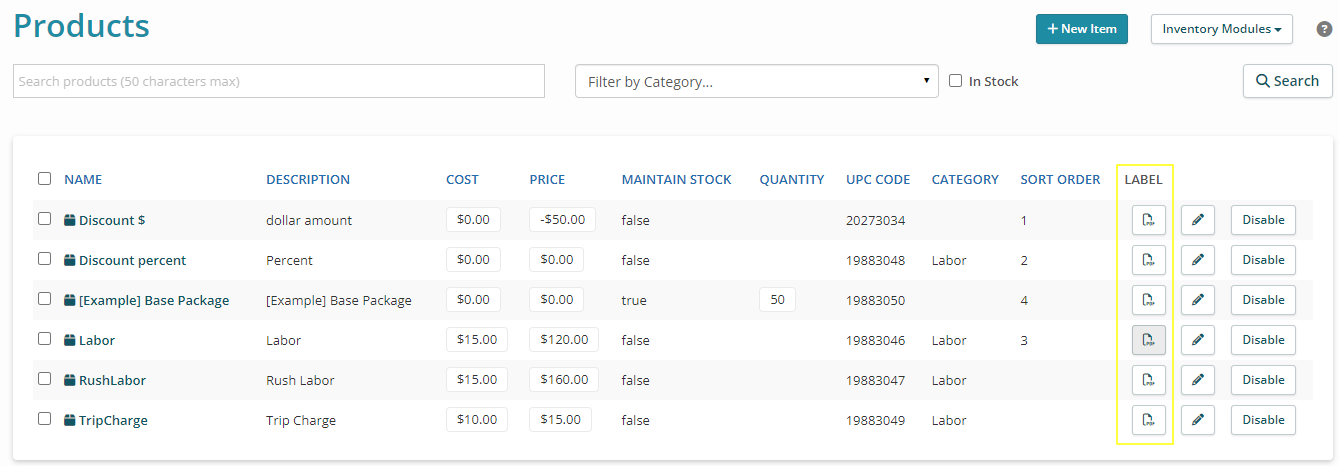
Navigate to the Products & Services tab/module, then click a PDF icon in the Label column that corresponds to the Product you care about:

The Product label opens in a PDF, which you can print if you'd like.
Tip: Use Syncro's AutoPrinter to have your labels automatically print based on triggered events like Ticket or Asset creation.
