Create a Contact
A Contact represents a specific person who is part of the business (Customer) you support. You can import a list of existing contacts, or manually create new contacts.
You can read on, or watch this short video to learn more:
To manually create a new Contact, follow these steps:
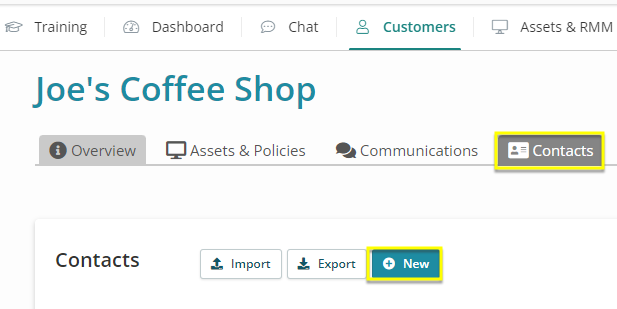
- Navigate to your Customer’s Details Page, then select the Contacts subtab. If available, a list of existing contacts appears on the left hand side.
- Click +New.

Tips:
- You can also import existing Contacts from a spreadsheet. See Import or Export Existing Contacts.
- You can create custom fields for your contacts. See Create Custom Fields.
- Complete any fields for this Contact. See also Contact Fields Reference.
The fields you use will vary based on whether you’re using Syncro for RMM only, for RMM with ticketing, or for RMM with full PSA functionality like ticketing and invoicing. They may also differ based on whether you’re an MSP or internal IT.
You should consider whether to give this Contact access to the Portal by creating a Portal User.
- Click Save. Your new contact appears in the list:

 Documentation Center