Set Up Xero Online
Table of Contents
You can streamline your business accounting processes by automating data synchronization between Xero and Syncro.
This document describes how to set up Xero and sync Customers, Invoices, Payments, and Purchase Orders (POs) between Syncro and your Xero account.
Prerequisites
To maintain security compliance with Xero, this integration requires that you enable Multi-Factor Authentication (MFA) before connecting to your Xero account.
Entering a unique Business Name for a Customer Organization in Syncro is the only way to prevent the Contacts with duplicate names from being merged in Xero when First and Last Names match. This is true even with a different Email/Phone between the two Organizations, so be sure to follow the Best Practices in Work with Organizations.
Connect Your Xero Account to Syncro
To sync Customers, Invoices, Payments, and Purchase Orders (POs) between Syncro and your Xero account, follow these steps.
First, connect your Xero account in Syncro's App Center:
- Navigate to Admin > Integrations - App Center.
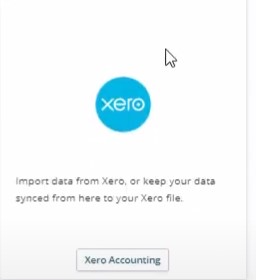
- Type “Xero” in the search bar. The Xero tile displays.
- Click Xero Accounting:
4. Click Connect Now to authorize access to your Xero account: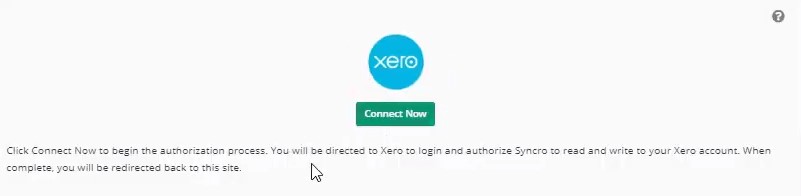
Syncro redirects you to the Xero site to log in, then back to our Setup Wizard.
Run the Xero Settings Wizard
IMPORTANT: You can run this Wizard later, but you’ll get the best results by running it now.
In the Xero Settings Wizard, follow these steps:
- Use the dropdown to select a Revenue Account for your invoices:

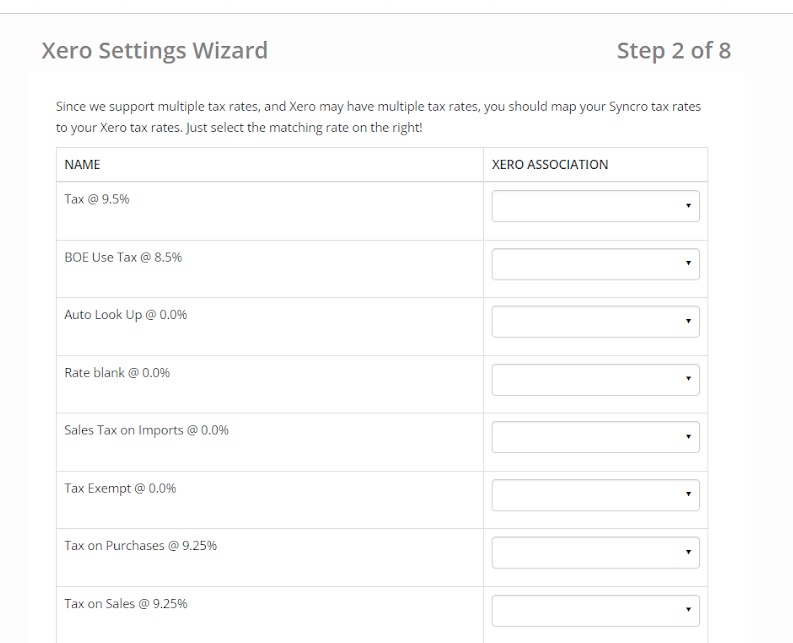
- Use the dropdowns in the XERO ASSOCIATION column to map each type of Syncro tax rate (in the NAME column):
- Use the dropdown to select the Default Xero Item Code. Choose a default product code for miscellaneous items.
Tip: It's best to choose a generic item like "Miscellaneous Sales" because this default product is a catch-all. Making it too specific might be confusing.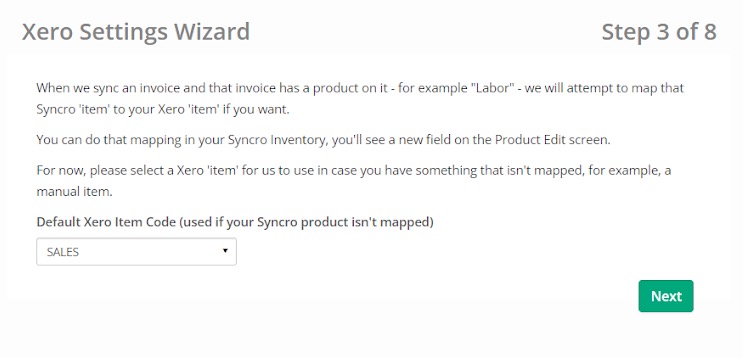
- Use the dropdown to select the Bank Account:
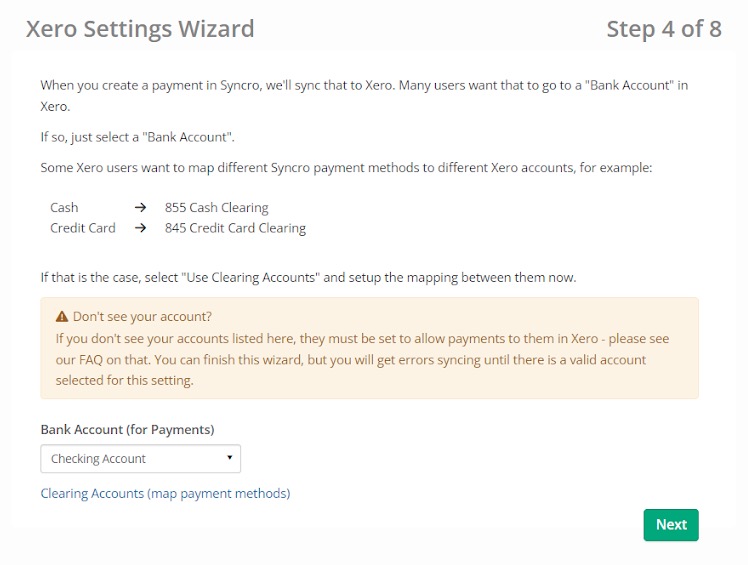
Note: The "Clearing Accounts (Map Payment Methods)" link allows you to map Xero bank accounts per payment method type, as an alternative to mapping all payments to one bank account: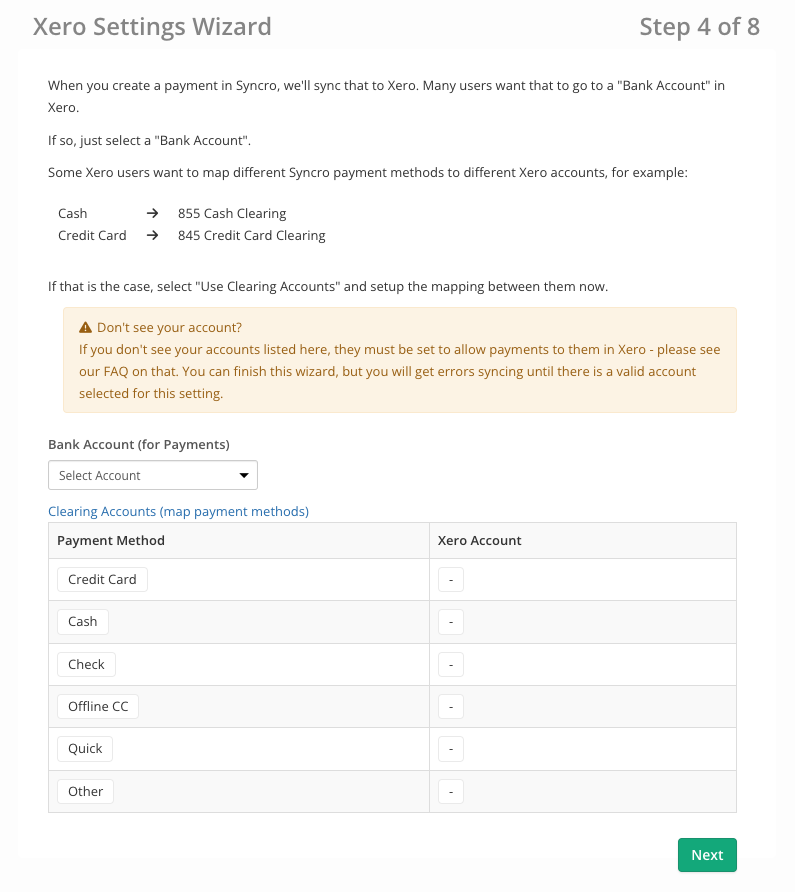
- Use the dropdown to select Liability/Expense Accounts:

- Check the “Enable Sync to Xero” box to activate the integration and connect the accounts:
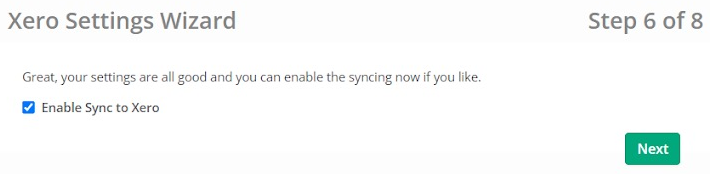
Note: The Xero Settings wizard presumes you've already sent up tax rates and payment methods. If you have to correct some things and you're not ready to go live, you could uncheck this box, fine tune your Xero settings and return here. However, the simplest path is still to complete the wizard; you can always adjust Xero settings later.
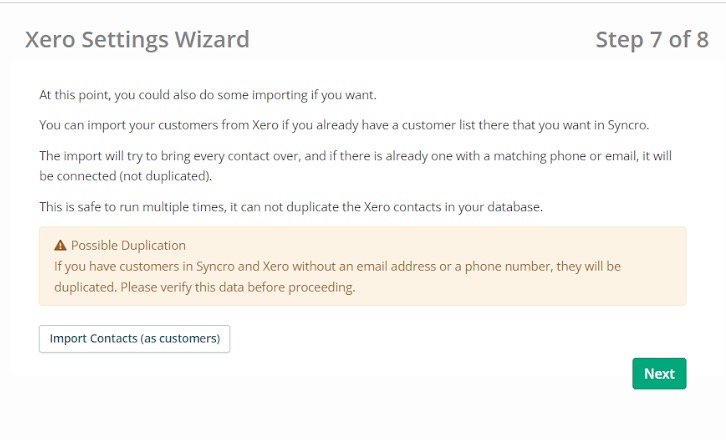
- Click Import Contacts (as Customers) and then Next to ensure 1-1 mapping between Xero and Syncro. (Syncro merges Customers based on email, name, and phone):
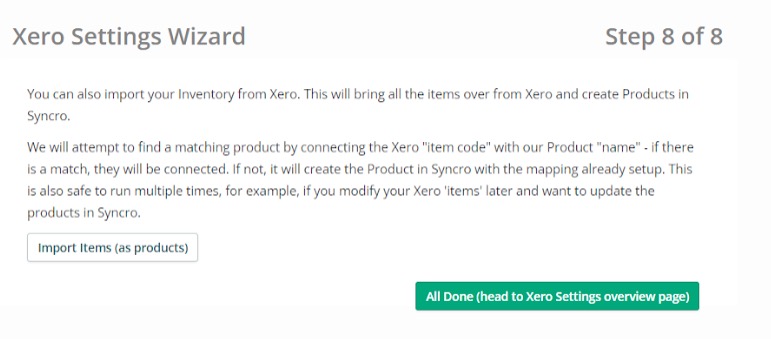
- Click Import Items (as Products) to import products from Xero into Syncro, then click All Done (Head to Xero Settings Overview Page).